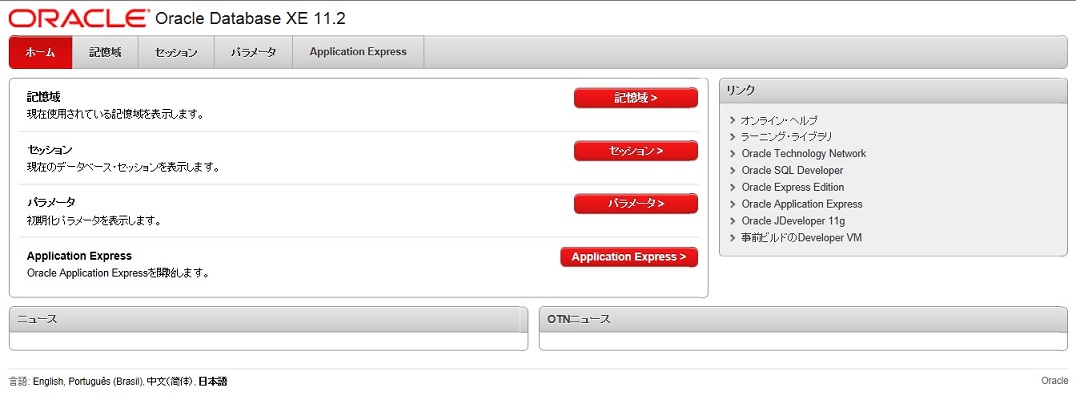
### 1.必要パッケージをインストール ###
$sudo rmp -ihv libaio-0.3.107-10.el6.x86_64.rpmm
警告: libaio-0.3.107-10.el6.x86_64.rpm: ヘッダ V3 RSA/SHA256 Signature, key ID c105b9de: NOKEY
準備中... ########################################### [100%]
1:libaio ########################################### [100%]

$sudo rmp -ihv bc-1.06.95-1.el6.x86_64.rpm
警告: bc-1.06.95-1.el6.x86_64.rpm: ヘッダ V3 RSA/SHA256 Signature, key ID c105b9de: NOKEY
準備中... ########################################### [100%]
1:bc ########################################### [100%]
### 2.oracle-xeをインストール ###
$ sudo rpm -Uhv oracle-xe-11.2.0-1.0.x86_64.rpm
準備中... ########################################### [100%]
1:oracle-xe ########################################### [100%]
Executing post-install steps...

You must run '/etc/init.d/oracle-xe configure' as the root user to configure the database.
### 3.ホスト名設定 ###
$sudo vi /etc/hosts
(追加) 127.0.0.1 ホスト名

### 4.DB設定/作成(全部デフォルトでOK) ###
$ /etc/init.d/oracle-xe configuresudo
### 5.コマンドが使えるようにパスを通す ###
$vi .bash_profile
(追加) export ORACLE_HOME=/u01/app/oracle/product/11.2.0/xe
(追加) export ORACLE_SID=XE
(追加) export NLS_LANG=`$ORACLE_HOME/bin/nls_lang.sh`
(追加) export PATH=$ORACLE_HOME/bin:$PATH
※再ログインが必要
### 6.SQLPlusでOracle XEへ接続 "##
$ sqsqlplus system

SQL*Plus: Release 11.2.0.2.0 Production on 木 7月 24 13:32:02 2014

Copyright (c) 1982, 2011, Oracle. All rights reserved.

パスワードを入力してください:

Oracle Database 11g Express Edition Release 11.2.0.2.0 - 64bit Production
に接続されました。
SQL> select * from v$version;

BANNER
--------------------------------------------------------------------------------
Oracle Database 11g Express Edition Release 11.2.0.2.0 - 64bit Production
PL/SQL Release 11.2.0.2.0 - Production
CORE 11.2.0.2.0 Production
TNS for Linux: Version 11.2.0.2.0 - Production
NLSRTL Version 11.2.0.2.0 - Production

SQL> exit
Oracle Database 11g Express Edition Release 11.2.0.2.0 - 64bit Productionとの接続が切断されました。
### 7.外からOracle Enterprise Manager(OEM)が使えるようにiptables でポートを開く ###
$ sudo vi /etc/initsysconfig/iptables
"/etc/sysconfig/iptables" 13L, 476C# Firewall configuration written by system-config-firewall
# Manual customization of this file is not recommended.
*filter
:INPUT ACCEPT [0:0]
:FORWARD ACCEPT [0:0]
:OUTPUT ACCEPT [0:0]
-A INPUT -m state --state ESTABLISHED,RELATED -j ACCEPT
-A INPUT -p icmp -j ACCEPT
-A INPUT -i lo -j ACCEPT
-A INPUT -m state --state NEW -m tcp -p tcp --dport 22 -j ACCEPT
(追加)-A INPUT -m state --state NEW -m tcp -p tcp --dport 8080 -j ACCEPT
(追加)-A INPUT -m state --state NEW -m tcp -p tcp --dport 1521 -j ACCEPT
-A INPUT -j REJECT --reject-with icmp-host-prohibited
-A FORWARD -j REJECT --reject-with icmp-host-prohibited
COMMIT
### 8.iptables 再起動 ###
$ sudo ervice iptables restart
iptables: ファイアウォールルールを消去中: [ OK ]
iptables: チェインをポリシー ACCEPT へ設定中filter [ OK ]
iptables: モジュールを取り外し中:[ OK ]
iptables: ファイアウォールルールを適用中: [ OK ]

